
There are two main types of paint that people use when they want to give their furniture or cabinets a new look: chalk paint and milk paint.
If you are going for a more distressed, vintage look, then milk paint is the better option. Milk paint is easier to distress and gives a more textured finish than chalk paint.
However, if you are looking for a more polished look, then chalk paint is the better option. Chalk paint is less likely to chip or flake than milk paint, giving a more even finish.
When deciding which paint to use, it is important to consider the surface you are painting.
Chalk paint is better for surfaces that need a more polished look, such as kitchen cabinets or bathroom vanities.
Milk paint is better for surfaces you want to distress, such as old pieces of furniture.
Here’s how to know whether to choose chalk paint or milk paint for your next DIY project.
What’s the Difference Between Milk Paint and Chalk Paint?
- Both milk paint and chalk paint produce a strikingly similar result in the finished product or painted surface.
- They’re both super quick-drying, environmentally friendly, are easy to use often requiring no to very little priming of a wood.
- (Yes! You can paint chalk and milk paint directly over a finished wood surface if you want to).
- They can be applied to outdoor and indoor surfaces with similar results. They’re kind of the best thing ever.
- That is until you get into the ingredients and the price; this is where the biggest difference between chalk paint and milk paint resides.
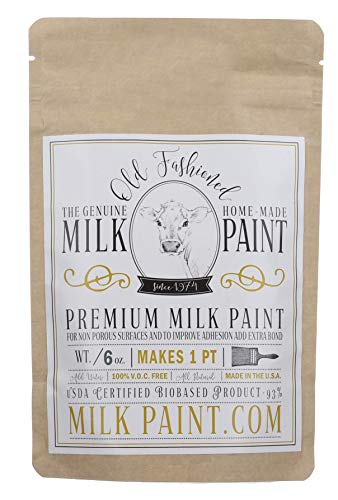
- Milk Paint is one of the oldest forms of paint in existence today. Its ingredients were first discovered back in colonial times featuring the milk protein casein which is where it gets its name from. It also has limestone, clay, and color pigment.
Milk paint tends to be sold in a fine powder form which you mix with water, although more and more premixed milk paint colors are popping up at home improvement stores. This mixing with water tends to make it a bit thinner than its chalkier counterpart.
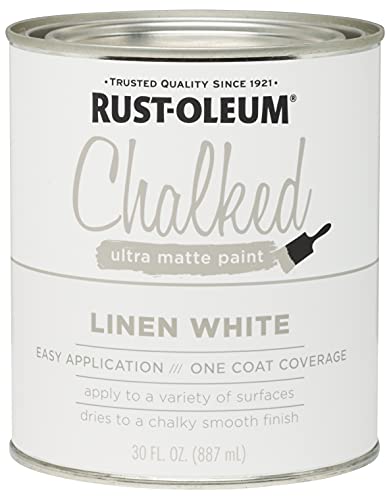
Chalk Paint is a thick paint made from calcium carbonate and talc, which is how it derives its name. (Also pigment). It is sold in a liquid form.
It’s a fast gripping paint that dries and smooths on impeccably well (often you don’t need more than a couple of coats).
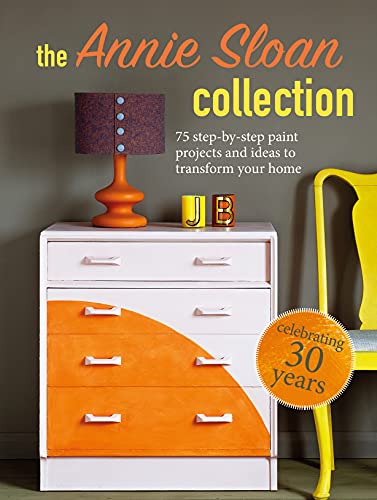
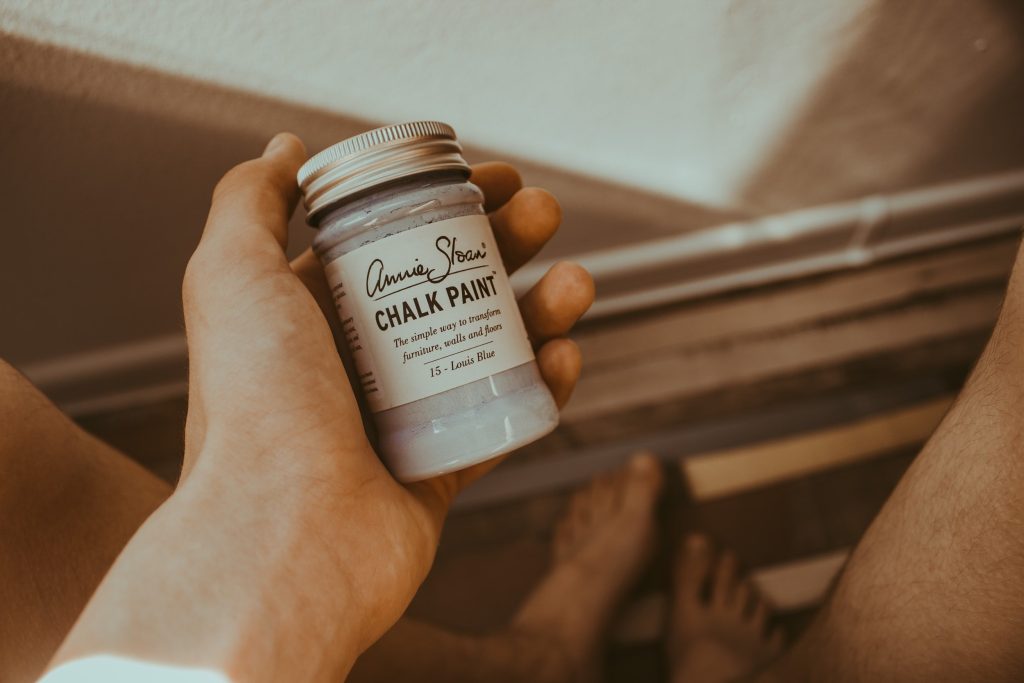
Developed in the 1990s by Annie Sloan, chalk paint tends to be sold in premixed colors which lends itself to two issues:
1) Chalk paint is harder to customize and
2) it can be quite a bit more expensive.
Milk Paint vs. Chalk Paint: Which is More Durable?
One of the main questions people ask when it comes to chalk paint vs milk paint is “which one is more durable?”
Here’s the honest answer: it depends on what you mean by durable.
Both paints are durable when it comes to the actual paint holding up over time. In that respect, they’re both pretty similar.
However, where they differ is in the look of the paint job over time.
Milk paint has a more “distressed” look, which some people prefer. However, because it’s more prone to chipping, it might not be the best choice for high-use area. Unless you’re looking for that chippy look…
Chalk paint, on the other hand, has a more smooth finish. It’s less likely to chip than milk paint, making it a good choice for high-traffic areas or pieces that get a lot of use.
So, which one is more durable?
Chalk paint tends to win in this area of durability and works well on a variety of surfaces.
But it also depends on what you’re going for as an overall finish.
Milk Paint vs. Chalk Paint: Which is More Affordable?
Another common question people ask when it comes to chalk paint vs. milk paint is, “which one is more affordable?”
Here’s the short answer: it depends on where you buy it and how much you need.
Milk paint is typically sold in powder form, which means you have to mix it with water.
This can be a bit of a hassle, but it also means you can buy as much or as little as you need and with a little preparation you can customize the colors for different looks with one main base.
On the other hand, chalk paint is typically sold in premixed colors similar to regular paint.
This can be more convenient, but it also means you have to buy a whole can even if you only need a small amount.
So, which one is more affordable? It depends on your needs and preferences but if you’re looking for different colors, or won’t be applying more than two coats in a general area, then Milk Point is going to be the best option for affordability.
*Of note as of the publishing of this article, the best paint may be whichever is most available to you in your area with consideration to supply chain issues and other availability challenges.
Milk Paint vs. Chalk Paint: Which is More Versatile?
Another common question people ask when it comes to chalk paint vs. milk paint is â”which one is more versatile?”
As all our other questions have shown, it really depends on what your goal is…if you want a chalky finish or if you want something more polished. If you’re applying to non-porous surfaces such as finished wood, or if you’re planning on coating it for the first time on raw wood.
Milk paint is more versatile when it comes to colors. Because it’s typically sold in powder form, you can mix it with water to get the exact color you want.
On the other hand, chalk paint is typically sold in premixed colors as we’ve mentioned. This can be more convenient, but it also means you’re limited to the available colors.
The main difference really comes down to the furniture piece or area that you’re planning to paint.
How to Use Milk Paint v. Chalk Paint
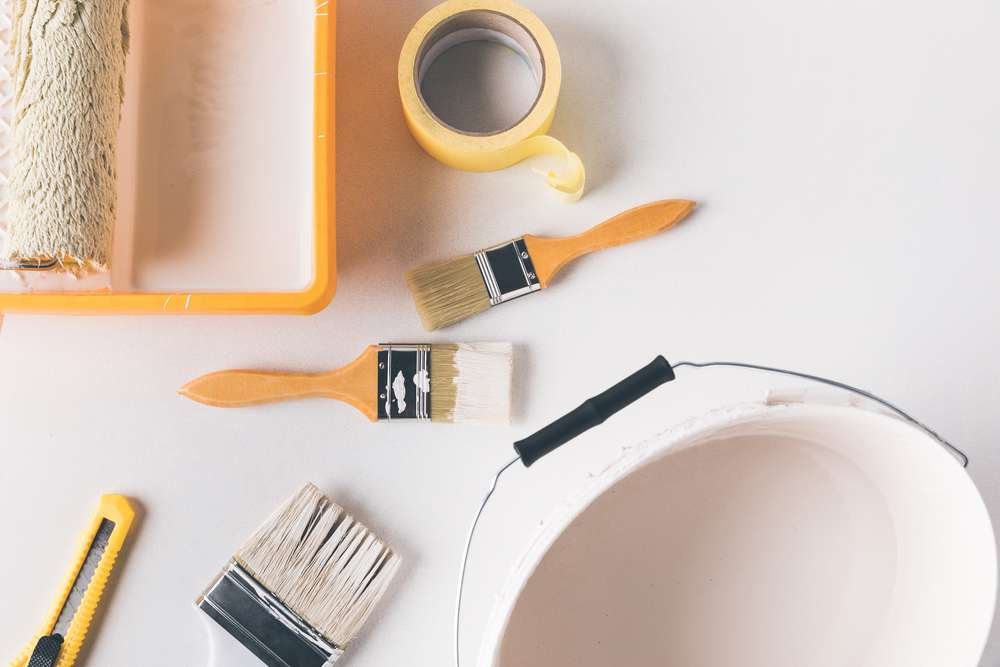
Both chalk and milk paints can adhere to so many different surfaces, which makes them a practical choice for your next DIY project.
They can very easily paint anything from wood to metal and glass, as well as drywall and masonry projects.
Within the different painting textures, you can also customize the finished look from doing a thin opaque coat to distressing the paint or pealing it for a more vintage chic look.
Milk paint tends to crack, flake, and distress more easily due to its chemical composition which makes it more ideal for usage in your farmhouse-style projects and vintage furniture or accessories.
Chalk paint has a slightly more easily controlled matte appearance (because of the consistency of the mixed paint). It can be perfect for revitalizing furniture projects or updating metallic accents (Including some fabrics!)
Milk paint tends to distress more easily, but it is possible to create the same distressed look with chalk paint by using sandpaper.
Differences in Brands of Chalk Paint V. Milk Paint
Most of the brands of chalk paint and milk paint are similar in their main ingredients and can come down to what your particular project requires (and if there are benefits to using a specific brand over another).
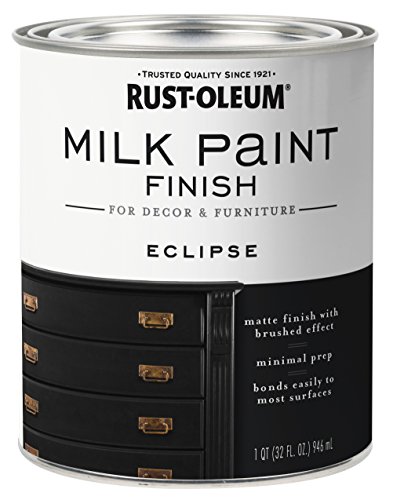
When it comes to purchasing Chalk paint, the two main producers (Annie Sloan and Rust-Oleum) produce slightly different consistencies even though they are pre-mixed.
Annie Sloan chalk paint, (which is the OG chalk paint developer), produces a bit more of a thick consistency while Rust-Oleum tends to be a bit thinner.
Depending on the specific details of your project consider this before you buy.
Rust-Oleum tends to distress slightly easier, for example, due to its variable thickness.
Milk Paint is more typically sold in a powder form which you mix in a 1:1 ratio.
The limitations of this are that you may end up with several batches that don’t match exactly. Especially if you’ve underestimated how much paint you need and have to mix another batch.
To avoid this, try to make the appropriate estimates for your painting needs so you can have your best chance at mixing the exact right amount of paint.
I think it’s better to have too much paint than not enough in this case, especially when it comes to milk paint.
Rust-Oleum does have a pre-mixed milk paint formula which is a bit of a game-changer in the milk paint game.
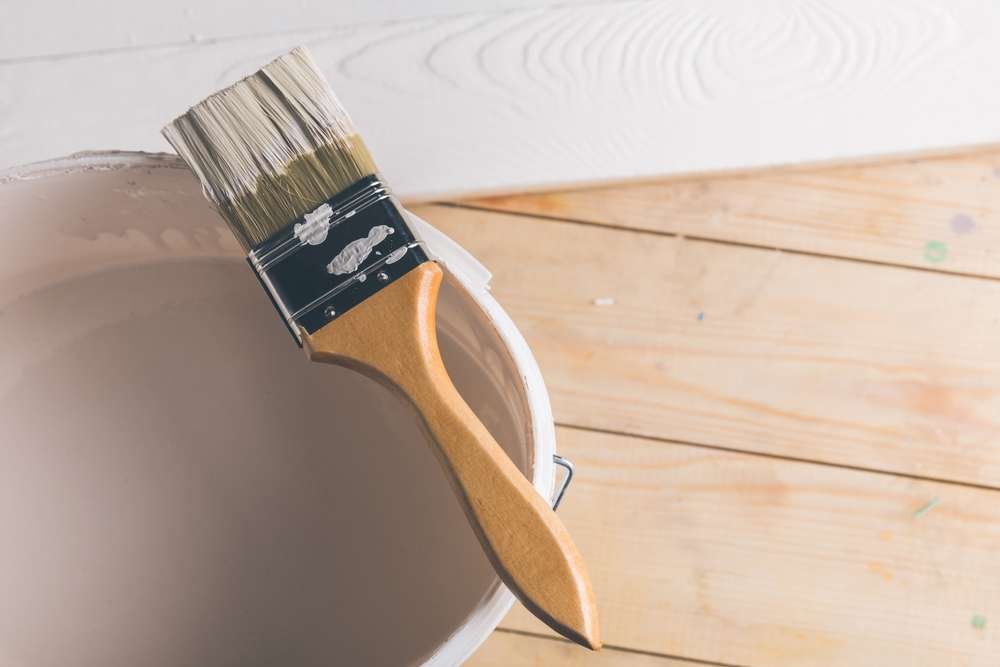
How to Prepare your Surfaces for Milk Paint and Chalk Paint
The great news is that with either paint, your prep work is limited ( woo hoo!), which is why this is high up there in the dgaf decor business for me.
I cannot be bothered with sanding or applying primer unless I have to.
There are a few factors to consider, though in prepping your furniture for both paints.
Be sure they’re clean and dry.
I tend to wipe things down with a damp clean cloth before I begin just to ensure I’m not sealing dust into the furniture or walls. I’ll have some sandpaper available should some obvious knicks or areas stand out as being not as smooth as other areas.
Prepping for milk paint depends on how you want the piece to look when it’s done.
Think of milk paint as more of a stain than a paint. It seeps into the pores of unfinished wood (for example).
If you want to have a distressed vintage farmhouse look you’ll need to apply a resisting agent like a hemp oil first to keep the milk paint from completely absorbing into the material.
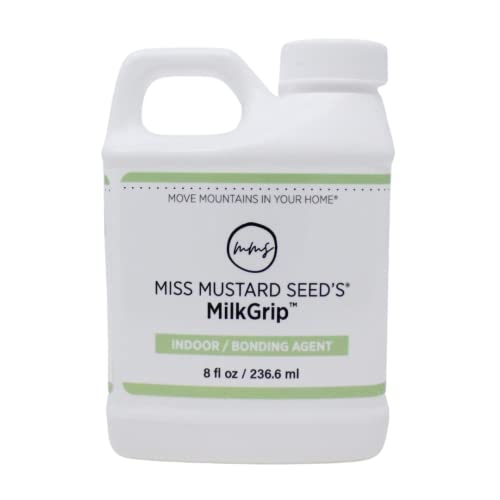
If you don’t want a chipped look, you’ll need to add a bonding agent (Like a miss mustard seed milk paint bonding agent) to the paint.
If you don’t care and just wanna see what happens, do that. Paint it on, and see what happens. (I love this part. It’s like a surprise!)
Chalk paint can go on most surfaces without a problem. If you have any glossy finishes (like a varnish), you’ll want to sand that down first.
You could also apply a layer of primer, but I find that with chalk paint, it really isn’t necessary as long as the surface is clean and dry.
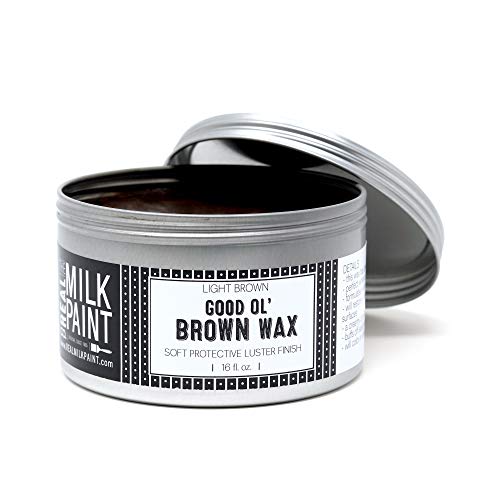
To extend the life of the chalk paint, consider applying a wax sealant about 30 minutes after the paint has dried for a longer-lasting finish.
How Many Coats Do You Need to Apply for Milk Paint and Chalk Paint?
When it comes to chalk paint, how many coats depends on the consistency of the paint (see my note above re: Rust-Oleum being slightly thinner).
If you’re planning to distress the paint, consider using only one coat to not layer it on too thick.
Chalk paint dries very fast, so you won’t have to wait too long to add additional coats.
For Milk Paint, it’s recommended that you paint a second coat every time.
Because it’s more like a stain than paint, the first coat acts as a bit of a primer.
It will take at least two coats to completely cover a surface, but this is also contingent on the look you’re going for.
If you’re cool with a faded paint look that you intend to distress then one coat may be enough. Just wait it out first to see how the first coat dries.
You can apply milk paint over chalk paint and vice versa.
This is one of my favorite things about these paints! You can use them individually or together to create a layered look.
One example where I love to use both paints is on kitchen cabinets. I’ll often use a color wash technique with two colors of chalk paint (usually a light and dark shade) and then top it off with a coat or two of milk paint.
The chalk paint will give the cabinets a smooth matte finish while the milk paint will seep into all the nooks and crannies and add that perfect distressed touch.
No matter what, always seal your painted surfaces!
Don’t Stress About Distressing Your Paint
Because chalk paint goes on more evenly and tends to be thicker you can control the exact look and feel of the distressed look you may be going for.
With milk paint, you don’t know what you’re gonna get until you start painting. Which is kind of exciting and thrilling too. (I love this personally).
Every piece that you paint with milk paint tends to be completely unique and one of a kind. There is less uniformity.
I recommend chalk paint for something that needs more consistency such as kitchen cabinets and milk paint for items that you take more risks with (such as a table, chair legs, metal sconces etc).
Chalk paint will also show brush strokes more so if you don’t want that distressed look, be sure to use a foam brush or roller.
Milk paint is known for being more “chippy” which means that it will flake off easier than chalk paint. To achieve this look, you’ll need to ensure that your paint is thinned out slightly with water.
You can also add a top coat of varnish to protect the paint and increase its durability.
Both paints are great for DIY projects.
Okay but like, Which Paint is Better, and When Should I Use Milk Paint or Chalk Paint?
To be totally honest neither are better than the other. They’re just slightly different and produce just enough of a similar look and feel to your project that we’re even having this conversation.
It really depends on the piece you’re painting.
The look you’re trying to achieve.
Both paints have their pros and cons and I’ve used them on several different items and places with excellent results.
When to Use Chalk Paint
Consider using chalk paint to create a French Country look where you can control the distressing of a piece.
Chalk paint is great for old pieces of furniture that need an upgrade and that you want to give a little more depth and character to.
Chalk paint is also preferred for kitchen cabinets and bathroom vanities.
When To Use Milk Paint
Milk paint is ideal for projects that need more of a chippy, peeled, vintage look. Milk paint cracks and flakes and distresses so much more easily than chalk paint so you can do more in less time (and with less effort) when it comes to achieving that look.
Consider using milk paint on antique furniture or vintage accessories.
Milk paint is also perfect for unfinished wood pieces due to the staining element.
Helpful Tips for Using Chalk Paint and Milk Paint
As I’ve previously mentioned, probably the best (and most appealing) bit about both of these types of paints is the fact that you can apply either one without the need for sanding or applying primer to the surface unless it’s uneven or super slick/shiny.
This makes either paint a huge draw for the hobby DIY’er as you can save loads of time in prep work before starting a project.
Make sure you’ve applied the paint to a clean, dry surface though as it will still pick up dirt and other things making the paint application uneven.
To improve the finish of the Milk Paint (should you choose this option) consider adding a bonding agent such as Miss Mustard Seed’s bonding agent to help the paint adhere to the surface more evenly.
If you’re going for a more distressed uneven look, then skip that and let gravity and the milk paint do it’s a thing while it dries and sort of self-distresses.
If you decide to spray the milk paint, be sure to mix, stir, and strain it first.
Because Chalk paints tend to have a much stronger grip, you won’t need the addition of a bonding agent, but if you’re feeling sticky, go for it (although it’s an added step that you don’t necessarily need).
You can use a brush, roller, or sprayer (after you’ve mixed and strained) to apply the paint, which all produce similar results and depends on you and your comfort level.
To extend the life of either paint, consider applying a wax sealant about 30 minutes after the paint has dried for a longer-lasting finish.
DIY Your Decor
Whether you’’’re painting a quick decorative project, or completely re-doing your bathroom cabinets the options for working with chalk paint v. milk paint are practically endless.
There’s a lot that you can do with either paint to truly upgrade your space and make more romantic or cozy.
Milk paint and chalk paint are both great paints for giving furniture, cabinets, or other DIY projects a new look. They have different benefits depending on what you’re trying to achieve with your project.
Milk paint is good for achieving a vintage, distressed look, while chalk paint is better for polished pieces or French Country style.
Both paints are easy to apply and don’t require sanding or primer unless the surface is uneven. Whichever paint you choose, be sure to apply it to a clean, dry surface.
Other Content from Advice for Millennials
37 Succulents Arrangements Decor Ideas That Won’t Suck Your Wallet Dry (See What I Did There?)
5 No Bullshit Decor Tricks to Upgrade Your Space on a Budget
Easy No-DIY Ideas To Upgrade Your Space With These Simple Home Decoration Ideas
31 Stupid Simple And Gorgeous Mason Jar DIY Decor Ideas
29 DIY Dollar Store Frame Ideas Even A Beginner DIY’er Can Do
Easy DIY Projects To Upgrade Your Space
25 Dollar Store DIY Decor Ideas (On A Budget!)
37 Holiday DIY Decor Ideas (Cheap, Easy, And Gorgeous)
33 Adorable, Thoughtful, And Unique Christmas Mason Jar Gift Ideas To Make This Holiday Season